Pilates for Beginners: Sculpt Your Abs and Hips with a Quick Workout

Contest Prep Coach & Online Diet Coach With over 15 years experience I work with competitors and non competitors alike, anyone looking to get in shape.
If you are tired of working hard and not seeing the results you want , the answer is simple. Just hire me.
You can apply on my website:https://www.jjslegion.net/
- Should You Train To Muscle Failure Every Set? What You Need To Know - March 4, 2025
- Nutrition in a Hurry: Top Post-Workout Snacks for Active People - February 20, 2025
- 15 Healthy Meal Prep Recipes: Your Weight Loss Made Easy - February 18, 2025
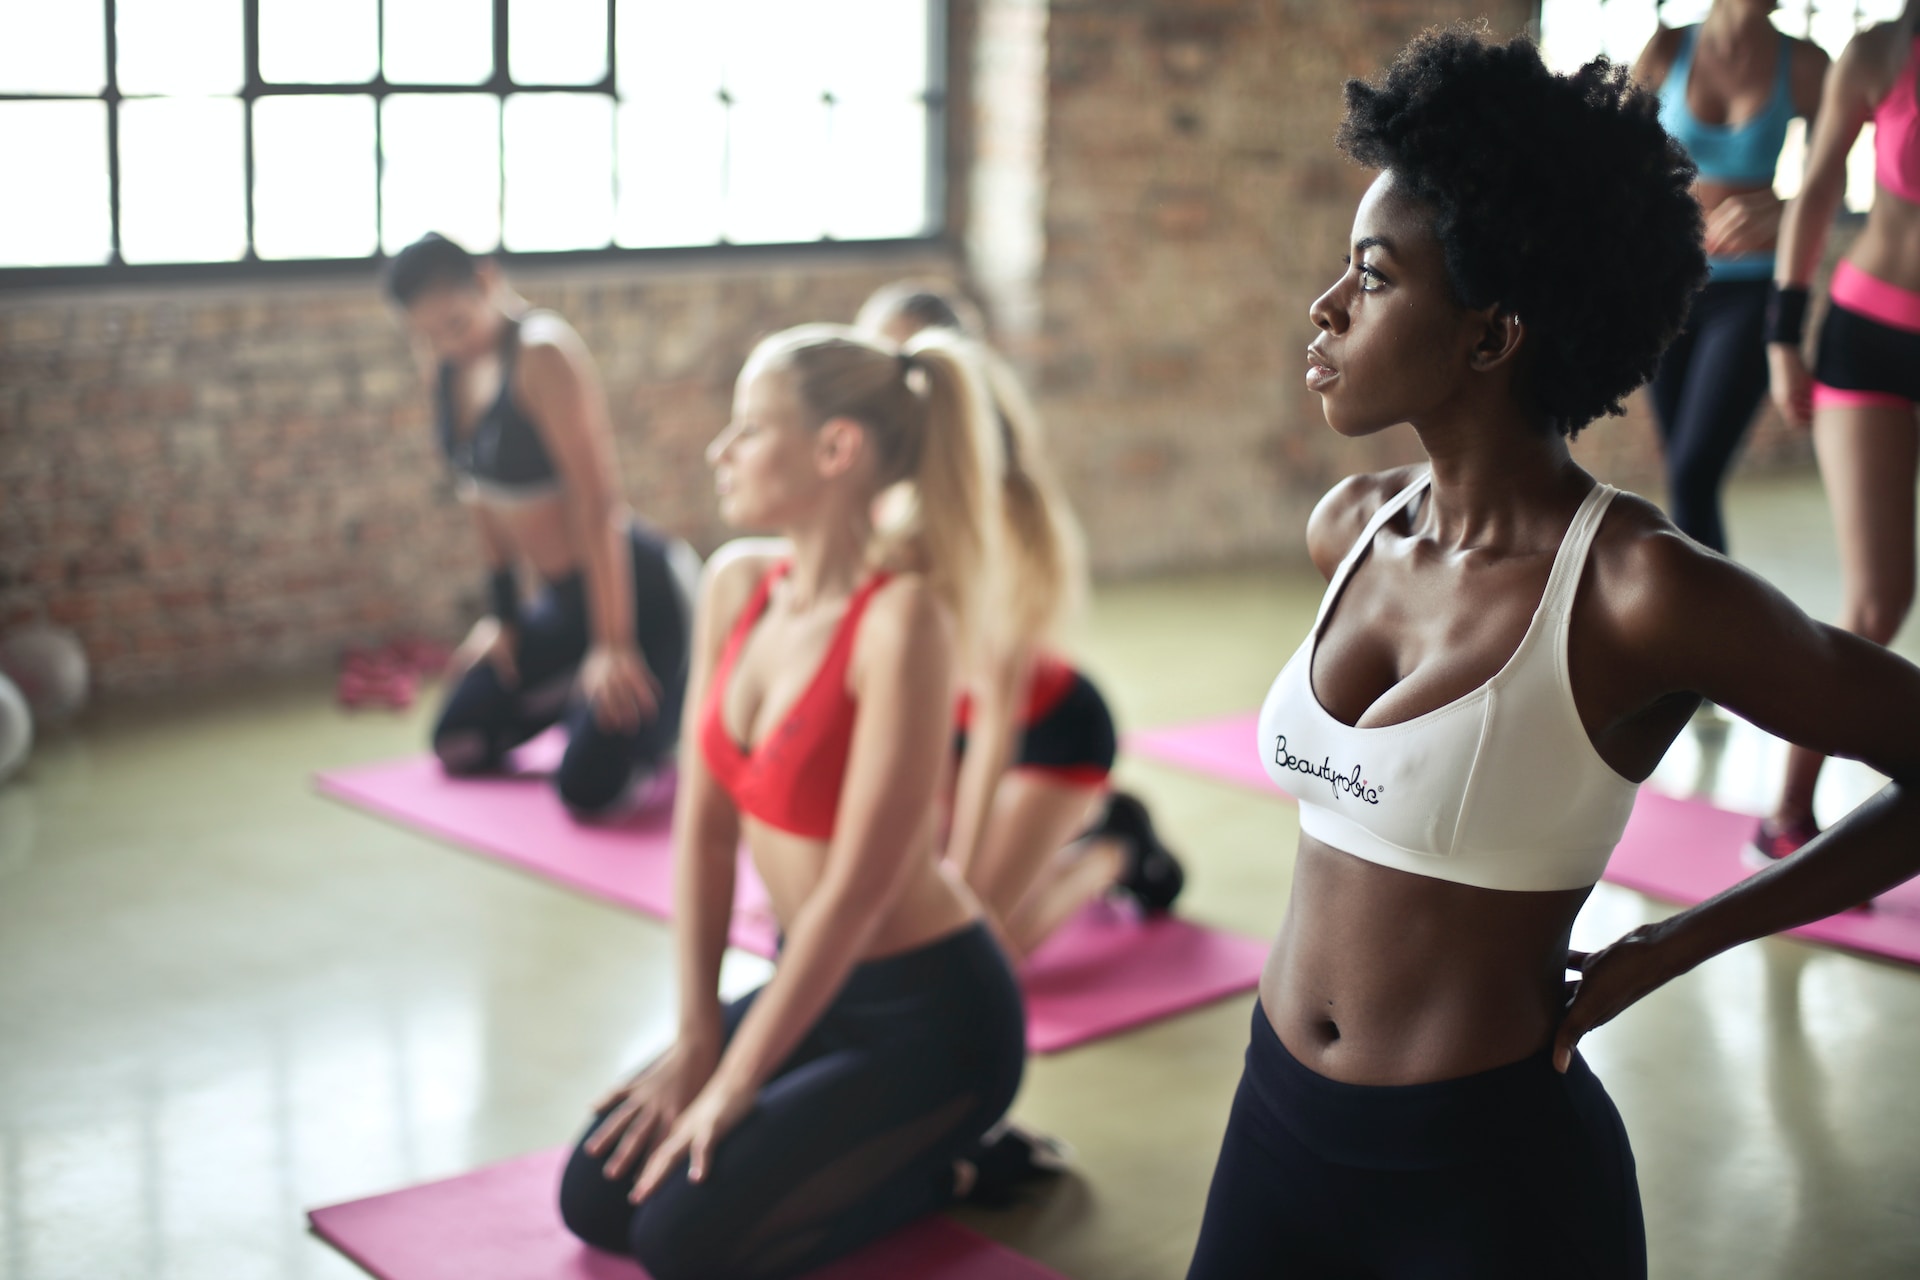
Are you a beginner looking to strengthen and tone your abs and hips? Look no further! In this 15-minute gentle Pilates routine, you will be guided through a series of low-impact exercises that focus on these specific areas. Whether you choose to do this workout on its own or combine it with another routine, you are sure to feel the burn. So grab your mat, hit play on the video, and let’s sculpt those abs and hips!
Benefits of Pilates for Beginners
Pilates is a fantastic form of exercise that offers numerous benefits, especially for beginners. Whether you’re looking to strengthen and tone your abs and hips, relieve back pain, or add versatility to your workout routine, Pilates has you covered. In this article, we will explore the various benefits of Pilates for beginners and introduce you to a gentle 15-minute Pilates routine that focuses on strengthening your abs and hips. So roll out your mat, get ready to move, and let’s dive into the world of Pilates!

Strengthening and Toning Abs and Hips
One of the primary benefits of Pilates for beginners is its ability to strengthen and tone the abs and hips. The exercises in Pilates are specifically designed to target these muscle groups effectively. By engaging these muscles during your Pilates practice, you can build a strong core and achieve a toned midsection.
A strong core not only enhances your appearance but also improves your overall posture and stability. It can also help alleviate lower back pain and improve your daily movement patterns. When your core is engaged and strong, you have a solid foundation for all movements, whether it’s during exercise or in your everyday life.
Additionally, Pilates exercises actively engage and strengthen the muscles in the hips. This can help improve your flexibility, balance, and overall hip stability. Strong and flexible hips are crucial for proper alignment and movement in activities like walking, running, and even sitting.

Relieving Back Pain
Back pain is a common issue that many people, particularly beginners, struggle with. Whether it’s caused by poor posture, weak muscles, or sedentary lifestyles, Pilates can help alleviate and prevent back pain.
Pilates exercises focus on strengthening the core muscles, including those in the back and abdomen. By strengthening and stabilizing these muscles, you can help alleviate pressure on the spine and reduce the risk of injury. The increased strength in your core muscles can also improve your posture, reducing strain on the back and alleviating pain caused by poor alignment.
Furthermore, Pilates incorporates gentle and low-impact movements that are easy on the joints and spine. This makes it a suitable choice for beginners who may have existing back pain or want to avoid high-impact exercises that can exacerbate discomfort.

Versatility as a Standalone Workout or Combined with Another Routine
One of the greatest advantages of Pilates for beginners is its versatility. Pilates can be practiced as a standalone workout or integrated into your existing exercise routine. This adaptability makes it suitable for individuals at various fitness levels and schedules.
If you’re a beginner looking to build strength, flexibility, and stability, a Pilates workout can be a comprehensive and effective option. The exercises are designed to target specific muscle groups and promote balanced strength throughout your body. This holistic approach can help you achieve better overall fitness and prevent muscle imbalances.
On the other hand, if you’re already engaged in another workout routine or sport, Pilates can serve as a valuable complement. The movements in Pilates can enhance your performance in other activities by improving core strength, flexibility, and body awareness. Many professional athletes incorporate Pilates into their training routines to optimize their physical performance and prevent injuries.
Introduction to the 15-Minute Pilates Routine
Now that you understand the benefits of Pilates for beginners, let’s introduce you to a 15-minute Pilates routine that focuses on strengthening and toning your abs and hips. This routine is gentle and suitable for individuals who are new to Pilates or prefer a slower-paced workout.
Overview of the Workout Duration and Focus
The 15-minute Pilates routine we will guide you through is specifically designed to target your abs and hips. In just a short amount of time, you can engage and strengthen these muscle groups effectively. This routine is perfect for those looking for a quick and efficient workout that can be easily incorporated into their daily routine.
Importance of Proper Form and Technique
Before we dive into the exercises, it’s crucial to emphasize the importance of proper form and technique in Pilates. Since Pilates focuses on engaging specific muscle groups, it’s essential to perform the exercises correctly to target the intended muscles.
It’s also helpful to watch your posture in a mirror or record yourself to get a visual understanding of your alignment. Remember, quality over quantity is key in Pilates, so prioritize maintaining proper form throughout the routine.
Exercise 1: Hip Bridges

Hip bridges are an excellent exercise to start our 15-minute Pilates routine. They focus on strengthening the muscles in your abs, hips, and glutes, providing a solid foundation for the rest of the exercises.
Description and Benefits of Hip Bridges
Hip bridges involve lifting the pelvis off the ground while engaging the abdominal muscles and glutes. This exercise targets the core muscles, increases hip stability, and helps build strength in the gluteal muscles. By regularly incorporating hip bridges into your workout routine, you can achieve a stronger and more stable core, toned glutes, and improved posture.
Step-by-Step Instructions for Performing Hip Bridges
- Lie on your back with your feet hip-width apart and your knees pointing up towards the ceiling.
- Place your arms long by your sides, ensuring they are relaxed and engaged.
- Take a deep breath in and, as you exhale, draw your abdominal muscles in towards your spine.
- Press through your heels and lift your pelvis off the ground, engaging your hamstrings and glute muscles to lift you up as high as you can comfortably go.
- Inhale as you lower your pelvis back down to the starting position.
- Repeat the movement, exhaling as you lift and inhaling as you lower, for the desired number of repetitions.
Cues for Proper Form and Technique
To ensure you’re performing hip bridges with proper form and technique, keep the following cues in mind:
- Engage your core by drawing your abdominal muscles towards your spine.
- Press through your heels to lift your pelvis, focusing on using your hamstrings and glute muscles.
- Keep your inner thighs active and your knees pointing forward throughout the movement.
- Maintain a long spine and open chest throughout the exercise.
- Exhale as you lift your pelvis and inhale as you lower it back down.
Modification Options for Beginners
If hip bridges feel challenging or uncomfortable, here are a few modifications you can try:
- Perform a half-hip bridge by lifting your pelvis only halfway off the ground instead of lifting as high as you can.
- Place a yoga block or cushion between your knees to provide additional support and stability.
- Perform the exercise with your feet placed on an elevated surface, such as a step or block, to reduce the range of motion and make it more accessible.
Remember, it’s important to listen to your body and choose the modification that suits your current fitness level and comfort. Over time, as you build strength and confidence, you can gradually increase the difficulty of the exercise.
Exercise 2: Leg Changes
Leg changes are an excellent follow-up exercise to hip bridges. They continue to engage and strengthen the abdominal muscles while improving hip stability and coordination.
Description and Benefits of Leg Changes
Leg changes involve moving your legs while keeping your pelvis and core stable. This exercise targets the abdominal muscles, including the deep stabilizing muscles, to improve core strength and stability. It also helps enhance coordination and control between the hip joints and the core muscles.
Step-by-Step Instructions for Performing Leg Changes
- Start by lying on your back with your knees bent and your feet in a tabletop position, knees stacked over your hips.
- Take a deep breath in and, as you exhale, draw your abdominal muscles in towards your spine.
- Lift one foot off the ground and extend the leg straight, keeping it hovering a few inches above the ground.
- As you inhale, return the extended leg back to the tabletop position and simultaneously extend the opposite leg, keeping it hovering as well.
- Continue alternating legs, exhaling as you extend and inhaling as you return to the tabletop position.
- Repeat the movement for the desired number of repetitions.
Cues for Proper Form and Technique
To ensure you’re performing leg changes with proper form and technique, keep the following cues in mind:
- Engage your core by drawing your abdominal muscles towards your spine throughout the exercise.
- Keep your pelvis stable and steady, avoiding any rocking or tilting motions.
- Maintain a long spine and avoid arching your lower back as you extend your legs.
- Focus on coordinating your breath with the leg movements, exhaling as you extend and inhaling as you return to the starting position.
- Keep your knees stacked over your hips and your tabletop position steady throughout the exercise.
Modification Options for Beginners
If leg changes feel too challenging or strain your lower back, here are a few modifications you can try:
- Perform the exercise with your legs bent at a lesser angle, such as bringing your knees closer to your chest.
- Perform the exercise with your feet resting on the ground, keeping your knees bent and tabletop position, but without extending the legs.
- Place a small towel or cushion under your lower back for additional support and comfort.
Again, it’s important to listen to your body and choose the modification that suits your current fitness level and comfort. As you progress, you can gradually increase the difficulty of the exercise.

Exercise 3: Supine Spine Twists
Supine spine twists are an excellent exercise to target the oblique muscles, which are essential for core stability and rotational movements.
Description and Benefits of Supine Spine Twists
Supine spine twists involve rotating the spine while keeping the shoulders and opposite hip anchored to the ground. This exercise targets the oblique muscles, located on the sides of your abdomen, and helps improve rotational stability and flexibility in the spine. It can also enhance your overall core strength and coordination.
Step-by-Step Instructions for Performing Supine Spine Twists
- Start by lying on your back with your knees bent and your feet hip-width apart, flat on the floor.
- Extend your arms out to the sides, forming a “T” shape with your body.
- Take a deep breath in and, as you exhale, engage your abdominal muscles by drawing your belly button towards your spine.
- Keep your shoulders anchored to the ground as you rotate your legs and pelvis to one side, aiming to touch the floor with your knees.
- Inhale as you return to the starting position, and then exhale as you rotate to the other side, touching the floor with your knees again.
- Repeat the movement, exhaling as you rotate and inhaling as you return to the starting position.
Cues for Proper Form and Technique
To ensure you’re performing supine spine twists with proper form and technique, keep the following cues in mind:
- Engage your core muscles by drawing your belly button towards your spine throughout the exercise.
- Keep your shoulders anchored to the ground as you rotate, focusing the movement on your spine.
- Maintain a long and neutral spine, avoiding any excessive arching or rounding of the back.
- Exhale as you rotate and touch the floor with your knees, and inhale as you return to the starting position.
- Keep your knees and feet hip-width apart throughout the exercise.
Modification Options for Beginners
If supine spine twists feel challenging or strain your lower back, here are a few modifications you can try:
- Perform the exercise with your knees bent and closer together, bringing them towards your chest as you rotate.
- Reduce the range of motion and rotate to a comfortable degree, ensuring you can maintain proper form and engage the targeted muscles effectively.
- Place a cushion or small towel under your knees for support and comfort.
Remember, modifications are there to help you adapt the exercise to your individual needs and fitness level. As you gain strength and flexibility, you can gradually increase the intensity and range of motion of the exercise.
Exercise 4: Chest Lifts

Chest lifts are a fundamental Pilates exercise that targets the abdominal muscles, particularly the rectus abdominis, the “six-pack” muscles.
Description and Benefits of Chest Lifts
Chest lifts involve lifting the upper body off the ground while engaging the abdominal muscles. This exercise targets the rectus abdominis and helps strengthen and tone the entire abdominal region. Chest lifts also improve spinal articulation, enhance core stability, and promote better posture.
Step-by-Step Instructions for Performing Chest Lifts
- Start by lying on your back with your knees bent, feet flat on the floor, and arms long by your sides.
- Take a deep breath in and, as you exhale, draw your abdominal muscles in towards your spine.
- Lengthen your spine and, using your abdominal muscles, lift your head, neck, and upper back off the ground.
- Inhale as you lower your upper body back down to the starting position, maintaining control throughout the movement.
- Repeat the movement, exhaling as you lift and inhaling as you lower, for the desired number of repetitions.
Cues for Proper Form and Technique
To ensure you’re performing chest lifts with proper form and technique, keep the following cues in mind:
- Engage your core by drawing your abdominal muscles towards your spine throughout the exercise.
- Avoid pulling with your neck or using momentum to lift your upper body. Instead, focus on using your abdominal muscles to initiate the movement.
- Keep your lower back grounded on the floor and maintain a neutral spine throughout the exercise.
- Exhale as you lift your upper body and inhale as you lower it back down, coordinating your breath with the movement.
- Avoid straining your neck or jutting your chin forward. Instead, aim to maintain a long neck and keep your gaze towards the ceiling.
Modification Options for Beginners
If chest lifts feel challenging or strain your neck, here are a few modifications you can try:
- Perform the exercise with your hands supporting your head, and fingertips lightly touching the back of your head, to provide additional support.
- Place a small cushion or towel under your head for comfort and to reduce strain on your neck.
- Perform mini chest lifts by lifting your upper body only a few inches off the ground instead of lifting as high as you can.
As always, listen to your body and choose the modification that allows you to engage your abdominal muscles effectively without discomfort or strain. Over time, as you develop strength and stability, you can gradually increase the height and intensity of the chest lifts.
Exercise 5: Single Leg Stretch

Single leg stretch is a dynamic Pilates exercise that targets the abdominal muscles while improving core stability and coordination.
Description and Benefits of Single-Leg Stretch
Single leg stretch involves alternating leg movements while engaging your core and stabilizing your pelvis. This exercise targets the abdominal muscles, including the obliques, while also improving hip flexibility and coordination. Single-leg stretch is an effective way to challenge your core and increase strength and stability.
Step-by-Step Instructions for Performing Single-Leg Stretch
- Start by lying on your back with your knees bent and your feet in a tabletop position, knees stacked over your hips.
- Take a deep breath in and, as you exhale, draw your abdominal muscles in towards your spine.
- Curl your head, neck, and shoulders off the ground, keeping your gaze towards your thighs.
- Extend one leg straight while keeping the other leg in the tabletop position.
- Inhale as you switch legs, bringing the extended leg back to the tabletop position and extending the other leg straight.
- Continue alternating legs, exhaling as you switch and inhaling as you return to the starting position.
- Perform the exercise in a smooth and controlled manner, maintaining stability and engagement through your core.
Cues for Proper Form and Technique
To ensure you’re performing single leg stretch with proper form and technique, keep the following cues in mind:
- Engage your core by drawing your abdominal muscles towards your spine throughout the exercise.
- Keep your head, neck, and shoulders lifted off the ground, maintaining a long and stable upper body position.
- Coordinate your breath with the leg movements, exhaling as you switch legs and inhaling as you return to the starting position.
- Focus on stabilizing your pelvis and avoiding any rocking or tilting motions.
- Keep your knees stacked over your hips and your tabletop position steady throughout the exercise.
Modification Options for Beginners
If single leg stretch feels too challenging or strains your neck or lower back, here are a few modifications you can try:
- Keep your head, neck, and shoulders on the ground as you perform the leg movements, focusing on engaging your core muscles.
- Place a small cushion or towel under your head for support and comfort.
- Reduce the range of motion and movement speed, focusing on maintaining stability and control through your core.
Remember, modifications are there to help you adapt the exercise to your individual needs and fitness level. As you gain strength and coordination, you can gradually increase the intensity and range of motion of the exercise.
Exercise 6: Double Leg Stretch

Double leg stretch is a dynamic Pilates exercise that challenges the abdominal muscles, promotes core stability, and enhances overall body control.
Description and Benefits of Double Leg Stretch
Double leg stretch involves extending both the arms and legs simultaneously while keeping the core engaged. This exercise targets the rectus abdominis and deep abdominal muscles, and it helps improve core strength, coordination, and flexibility. Double leg stretch is a great exercise for developing overall body control and promoting a balanced and stable core.
Step-by-Step Instructions for Performing Double-Leg Stretch
- Start by lying on your back with your knees bent and your feet hip-width apart, flat on the floor.
- Extend your arms overhead, reaching towards the ceiling, and take a deep breath in.
- Exhale as you lift your head, neck, and shoulders off the ground, engaging your core muscles.
- Simultaneously extend your arms overhead, alongside your ears, and your legs straight out in front of you.
- Inhale as you open your arms out to the sides and bring your knees back towards your chest, returning to the starting position.
- Repeat the movement, exhaling as you extend and inhaling as you return, for the desired number of repetitions.
Cues for Proper Form and Technique
To ensure you’re performing double leg stretch with proper form and technique, keep the following cues in mind:
- Engage your core by drawing your abdominal muscles towards your spine throughout the exercise.
- Lift your head, neck, and shoulders off the ground while maintaining a long and stable upper body position.
- Coordinate your breath with the movement, exhaling as you extend and inhaling as you return to the starting position.
- Focus on maintaining stability and control through your core, avoiding any excessive arching or rounding of the back.
- Keep your legs long and engaged as you extend them, and ensure your arms remain in line with your ears throughout the exercise.
Modification Options for Beginners
If double leg stretch feels challenging or strains your neck or lower back, here are a few modifications you can try:
- Perform the exercise with your head, neck, and shoulders resting on the ground, focusing on engaging your core muscles and extending your arms and legs.
- Bend your knees slightly and perform the exercise with smaller arm and leg movements, focusing on maintaining stability and control through your core.
- Place a small cushion or towel under your head for additional support and comfort.
As always, listen to your body and choose the modification that allows you to engage your abdominal muscles effectively without discomfort or strain. Over time, as you develop strength, coordination, and flexibility, you can gradually increase the intensity and range of motion of the exercise.

Exercise 7: Scissors
Scissors, also known as scissor kicks, are a challenging Pilates exercise that targets the abdominal muscles, particularly the lower abs.
Description and Benefits of Scissors
Scissors involve alternating leg movements in a scissor-like motion while engaging the core and maintaining stability. This exercise primarily targets the lower abs, challenging them to contract and stabilize the pelvis. Scissors also improve hip flexibility, strengthen the hip flexors, and enhance overall core strength and control.
Step-by-Step Instructions for Performing Scissors
- Start by lying on your back with your legs extended and your arms long by your sides.
- Take a deep breath in and, as you exhale, engage your core muscles by drawing your belly button towards your spine.
- Lift your head, neck, and shoulders off the ground, maintaining a long and stable upper body position.
- Lift one leg up towards the ceiling, keeping it straight and hovering a few inches off the ground.
- Engage your core and switch legs by lowering one leg towards the ground while lifting the other leg up, maintaining the straight leg position.
- Continue alternating legs, performing a scissor-like motion, exhaling as you switch, and inhaling as you hold the leg position.
- Perform the exercise in a controlled manner, focusing on stability and engagement through your core.
Cues for Proper Form and Technique
To ensure you’re performing scissors with proper form and technique, keep the following cues in mind:
- Engage your core by drawing your belly button towards your spine throughout the exercise.
- Lift your head, neck, and shoulders off the ground, maintaining a long and stable upper body position.
- Coordinate your breath with the leg movements, exhaling as you switch legs and inhaling as you hold the leg position.
- Keep your legs extended, straight, and active, avoiding any excessive movement in the hips or lower back.
Modification Options for Beginners
If scissors feel too challenging or strain your neck or lower back, here are a few modifications you can try:
- Perform the exercise with your head, neck, and shoulders resting on the ground, focusing on engaging your core muscles and extending your legs.
- Bend your knees slightly and perform the exercise with smaller leg movements, focusing on maintaining stability and control through your core.
- Place a small cushion or towel under your head for additional support and comfort.
Again, it’s important to listen to your body and choose the modification that allows you to engage your abdominal muscles effectively without discomfort or strain. Gradually increase the intensity and range of motion of the exercise as you gain strength and control.
Conclusion
In this article, we discussed the various benefits of Pilates for beginners, including strengthening and toning the abs and hips, relieving back pain, and its versatility as a standalone workout or combined with another routine. We also introduced you to a comprehensive 15-minute Pilates routine that focuses on strengthening your abs and hips.
Remember, Pilates is a wonderful form of exercise that can benefit individuals of all fitness levels. It offers numerous benefits, from improving core strength and stability to enhancing flexibility and relieving back pain.
Before starting any exercise program, it’s important to consult with a physician, especially if you have any pre-existing medical conditions or injuries. Pilates is generally safe and low-impact, but it’s always best to ensure that it aligns with your individual health needs and goals.
So, grab your mat, warm up those muscles, and give Pilates for beginners a try. Remember to focus on proper form, listen to your body, and have fun as you strengthen and tone your abs and hips through this gentle and effective workout routine.
Table of Contents